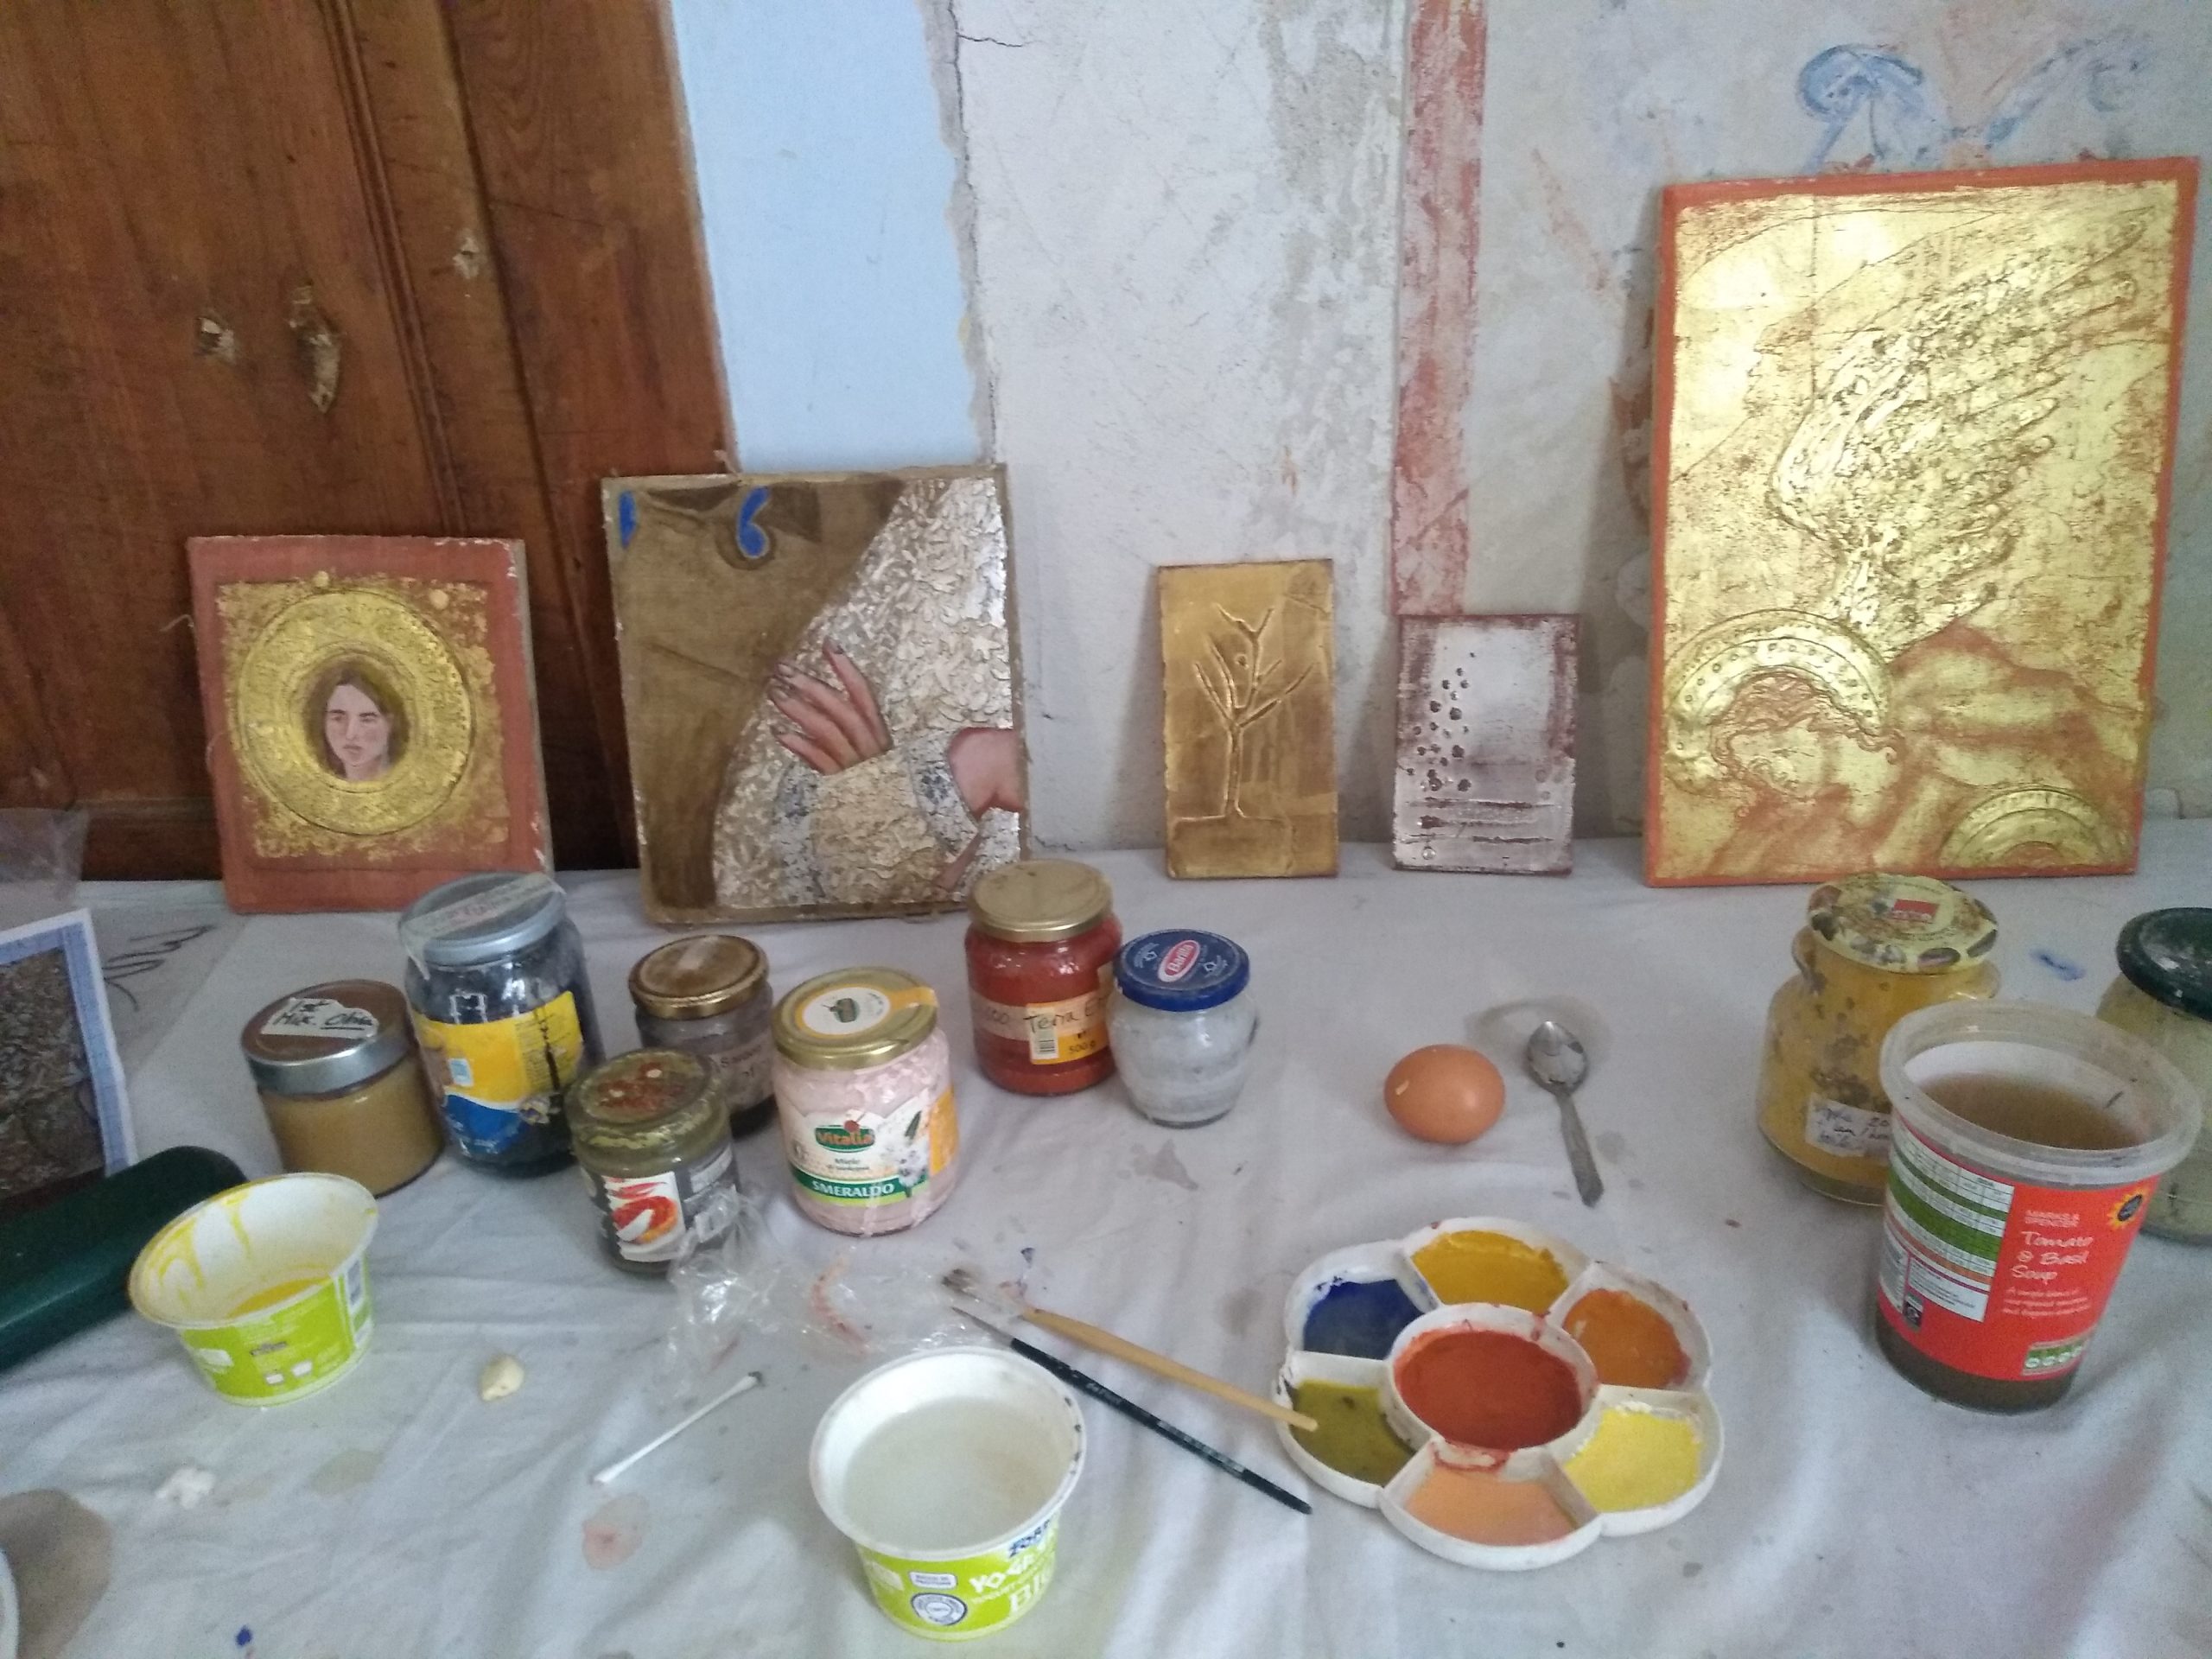
As part of my QEST scholarship (Anthony and Elizabeth Mellows Charitable Settlement Trust), I spent a week in Bosa Art School, Sardinia with Carey Mortimer. She showed me how to use gold leaf on fresco panels.
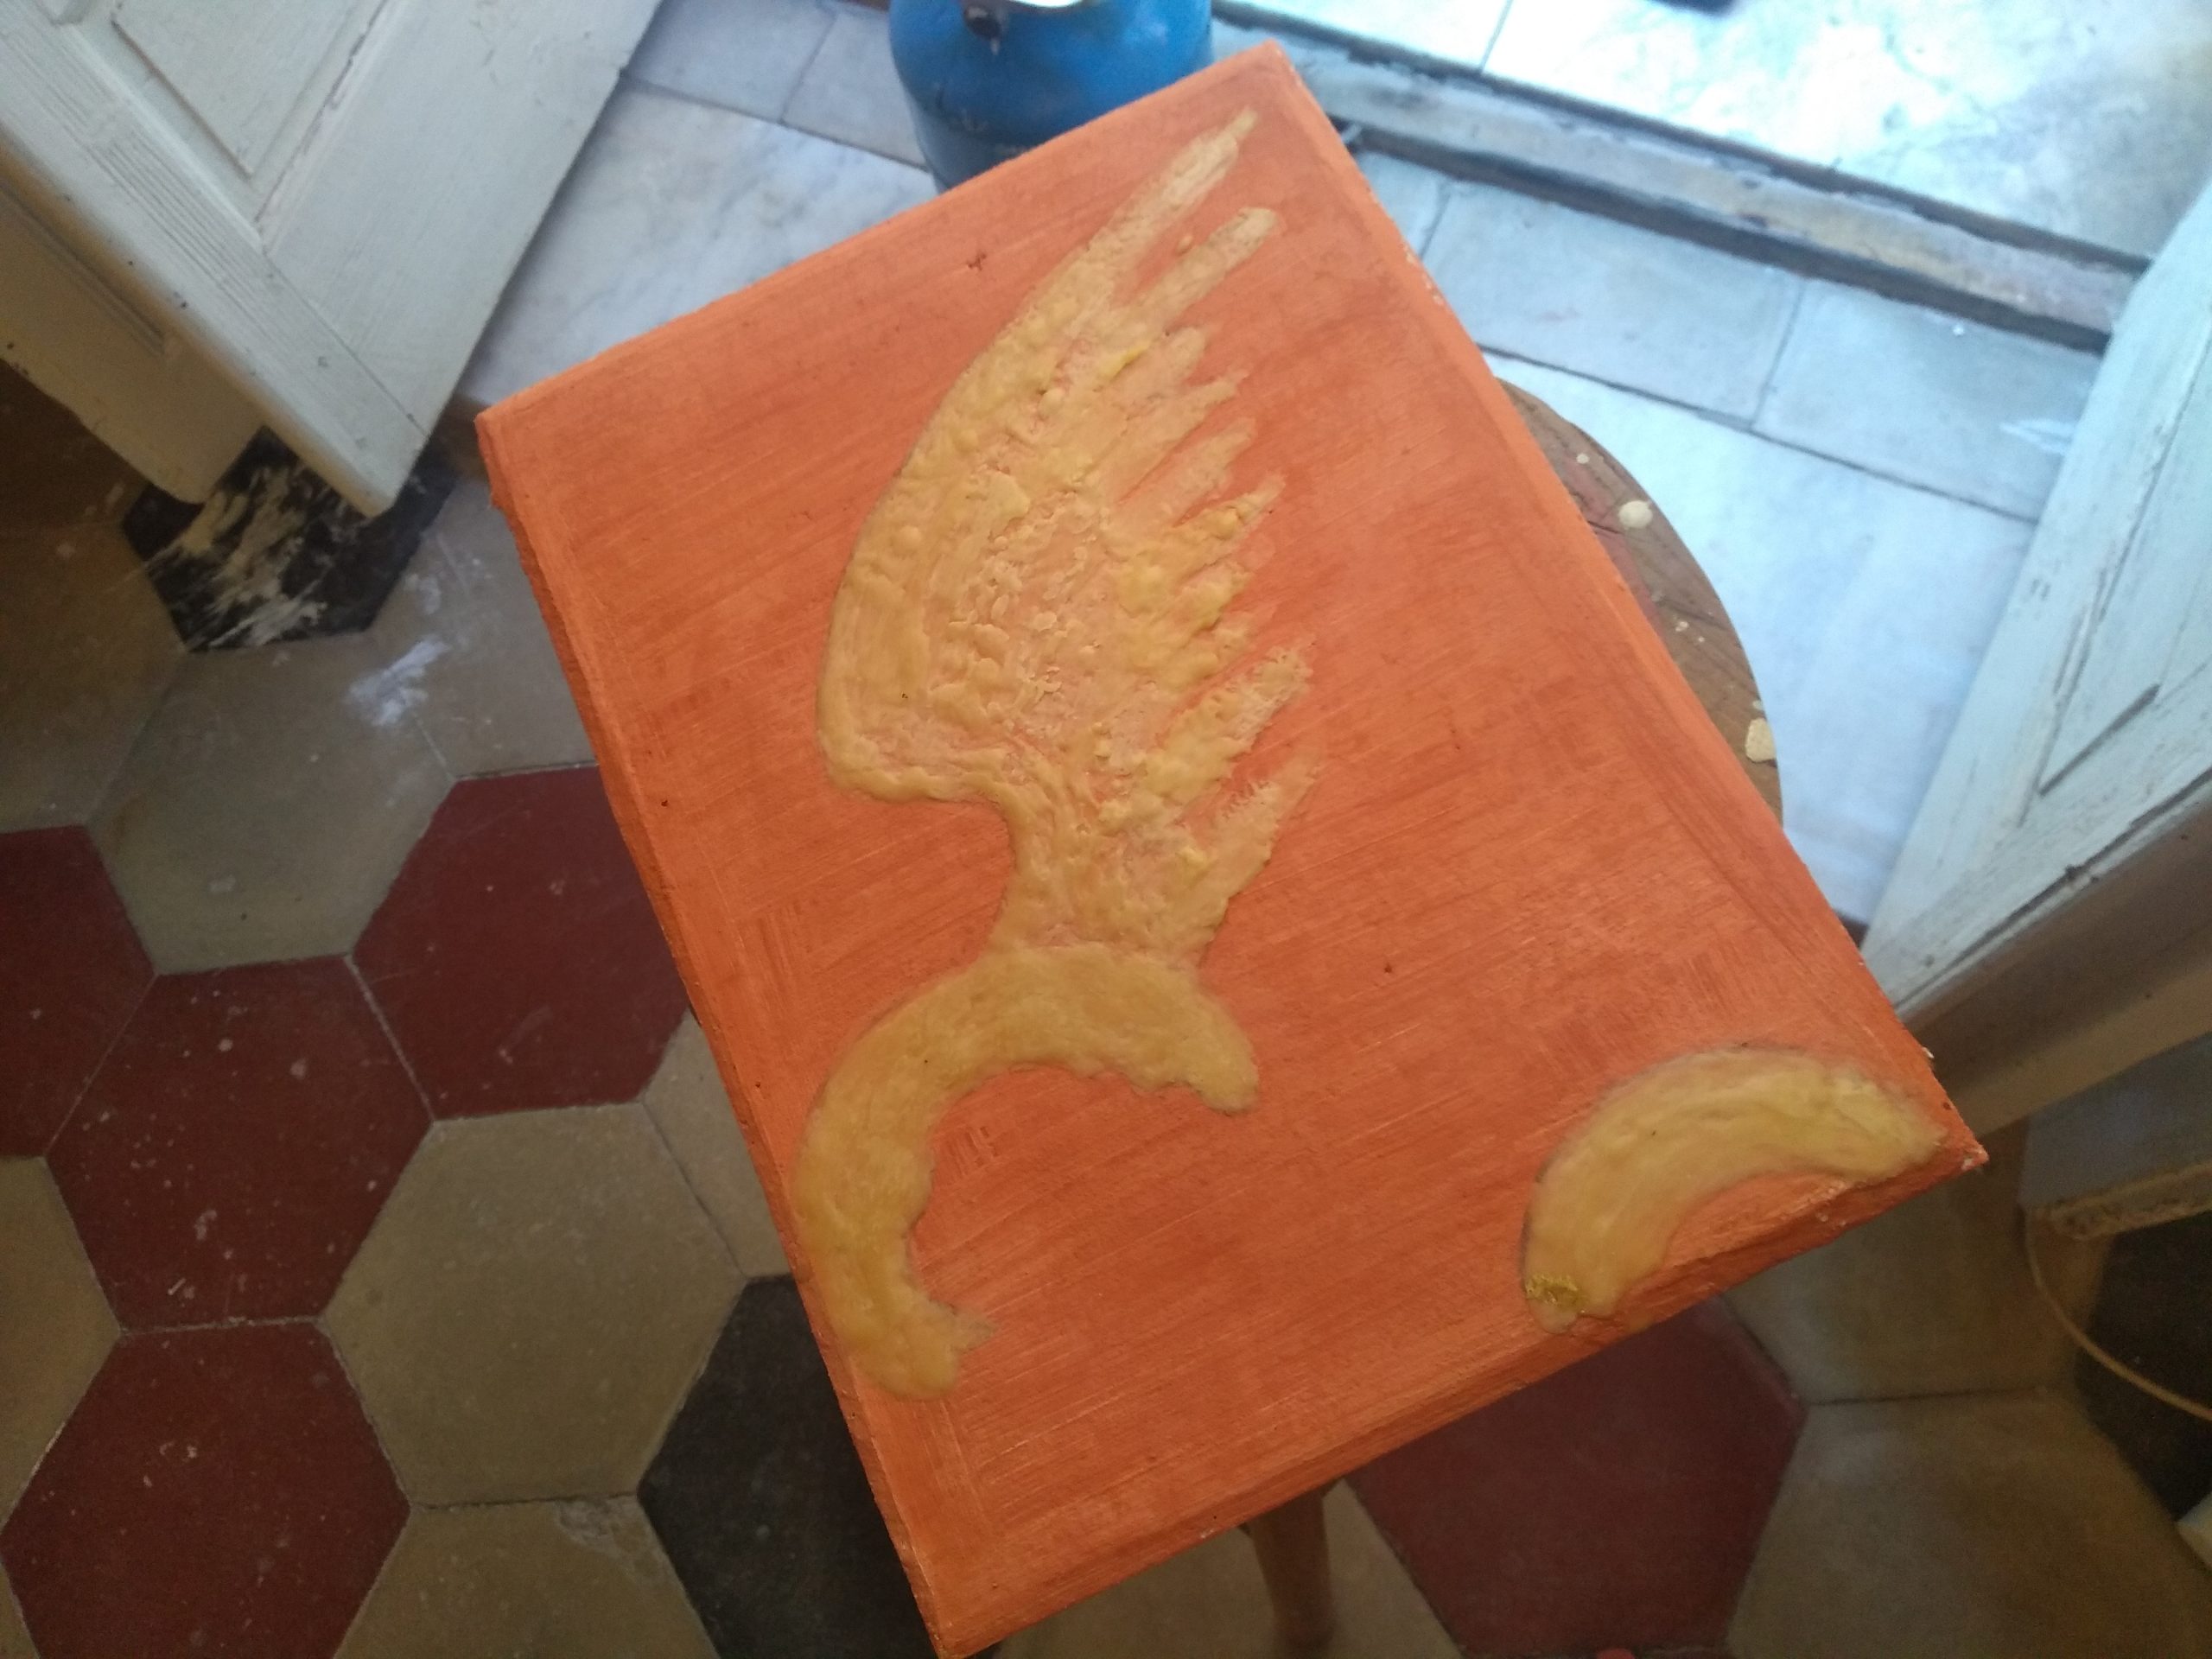
I started by dissolving beeswax in turpentine and mastic varnish, one thick version and one thinner. Carey had already prepared three fresco panels for me and painted one green, one ochre and one red. They had to be completely dry before starting. Taking inspiration from the many books Carey has in her library, I chose to do an angel’s wing. First of all, I painted a thin layer of the wax mixture on. Once it was tacky, I built up a thicker layer, freely creating a wing-like texture in impasto. I also made a smooth, raised area for the halo and this was quite hard to get level.
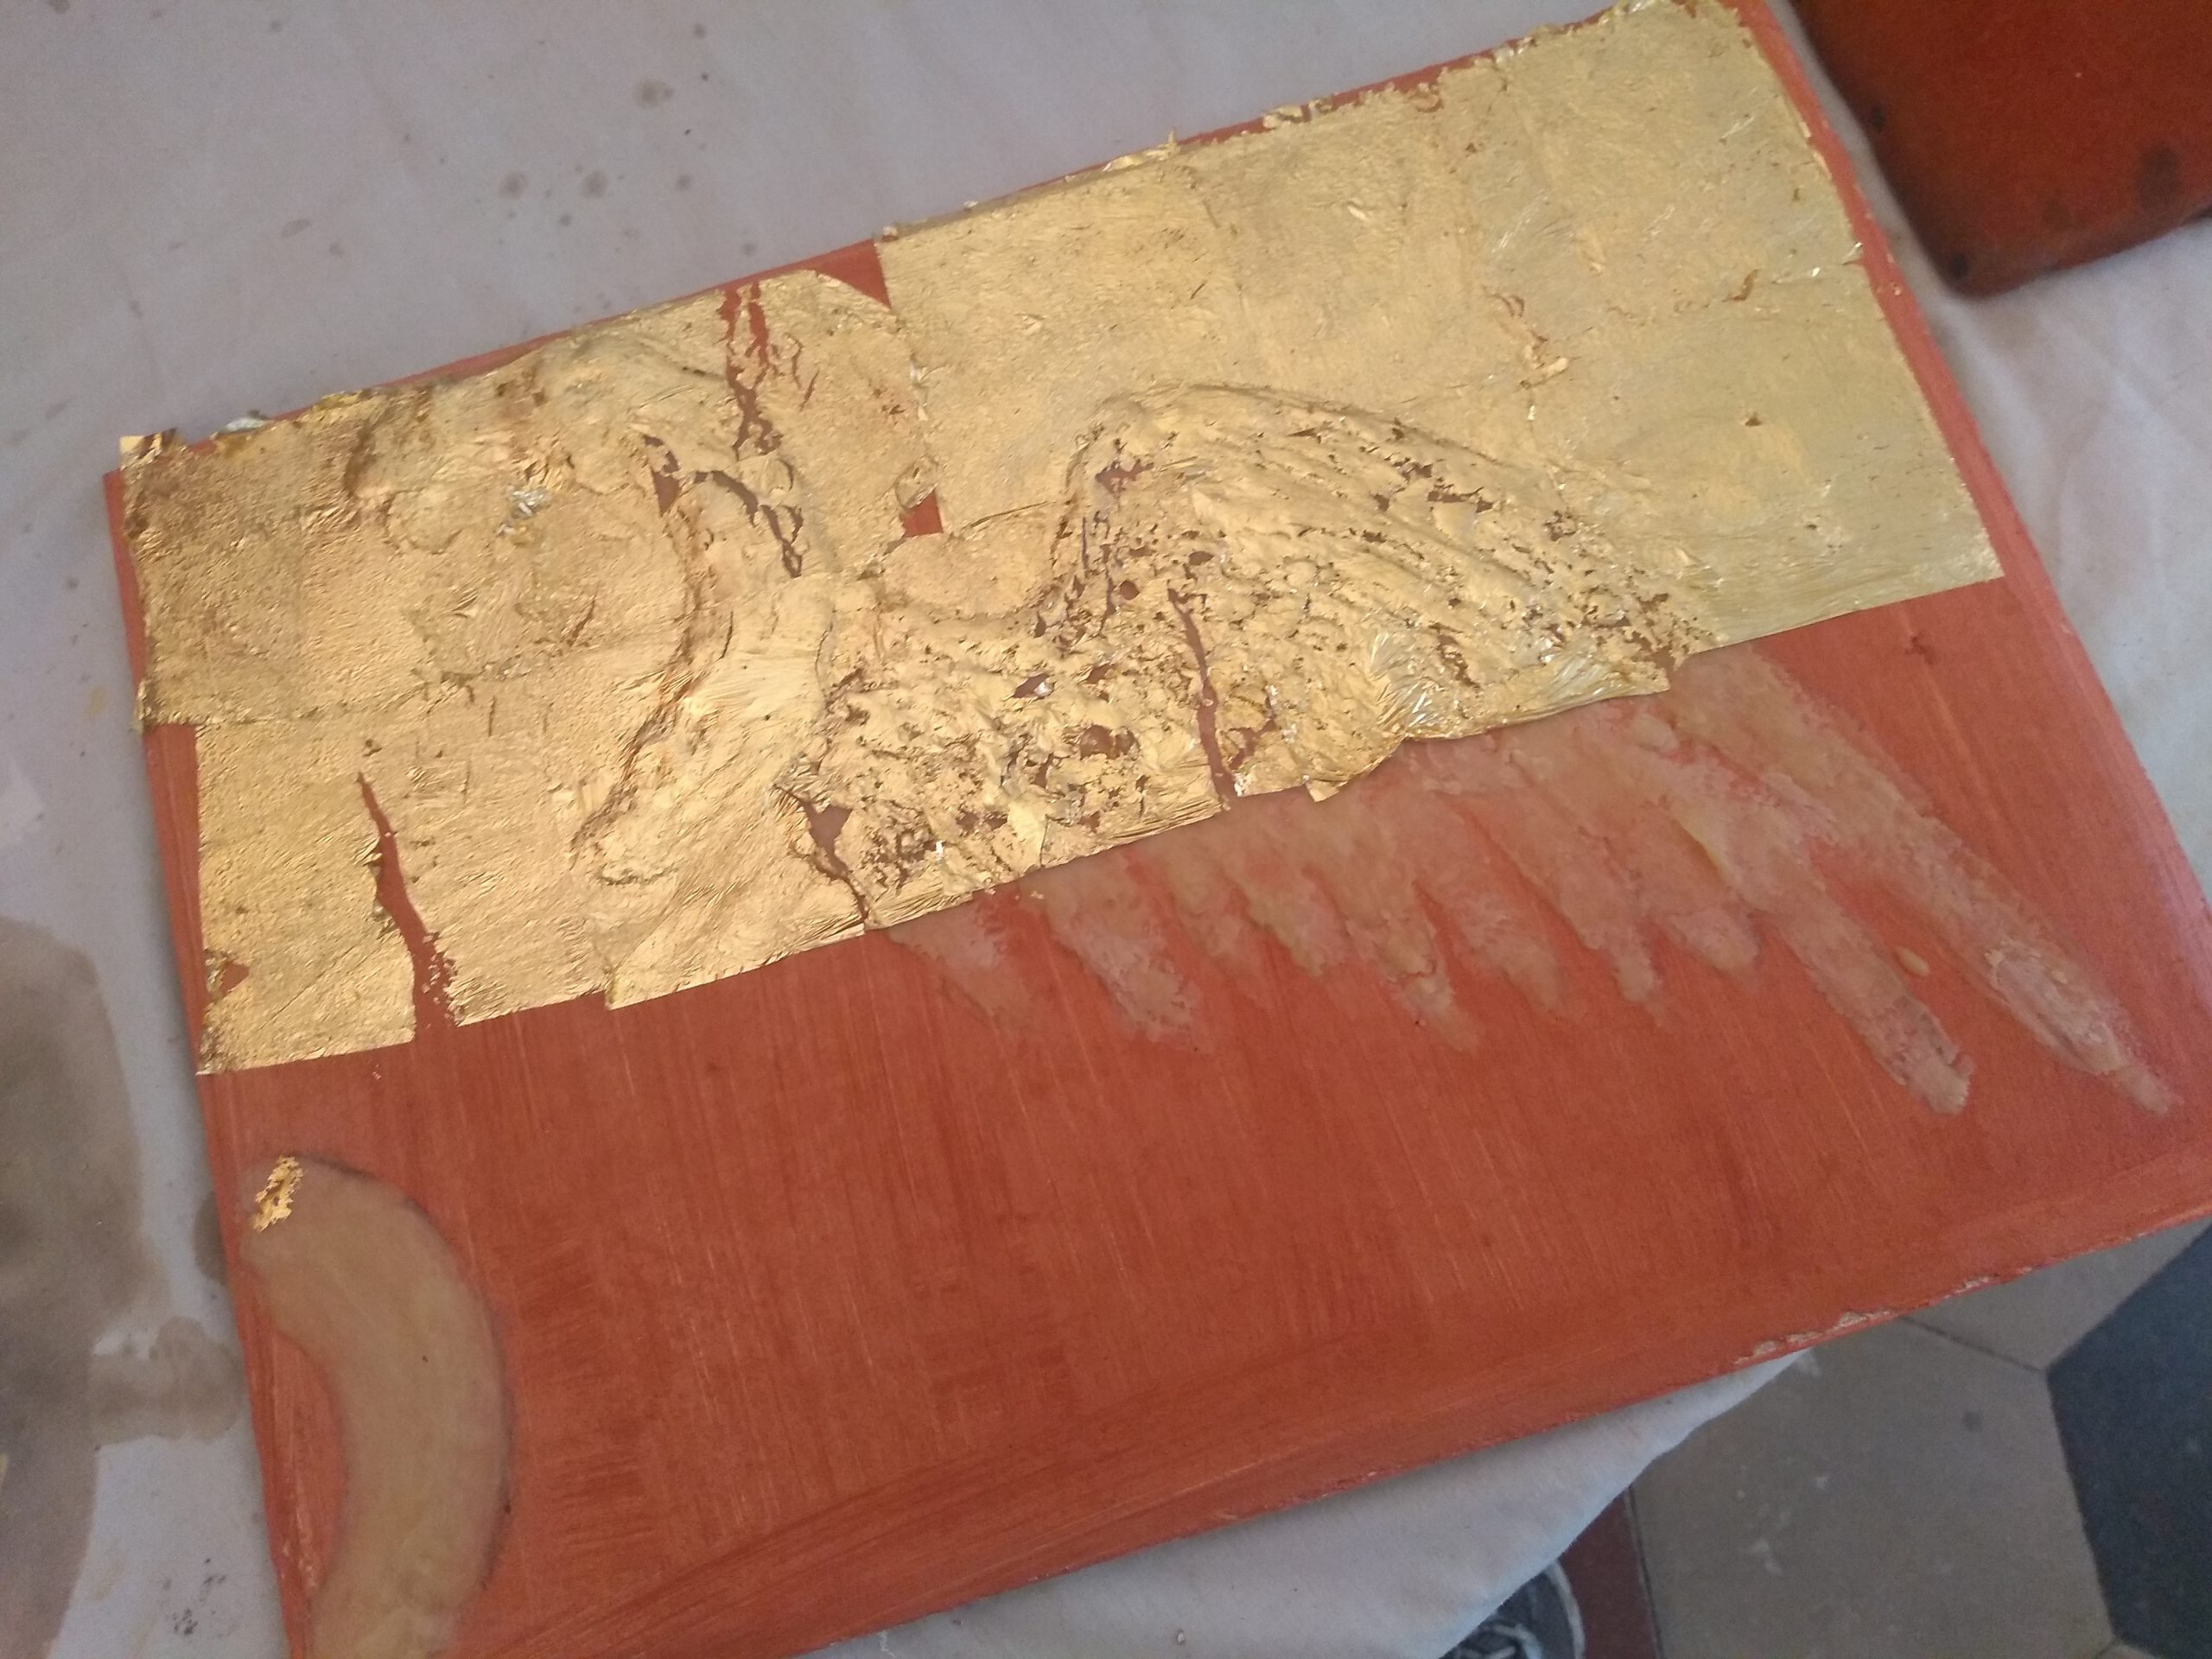
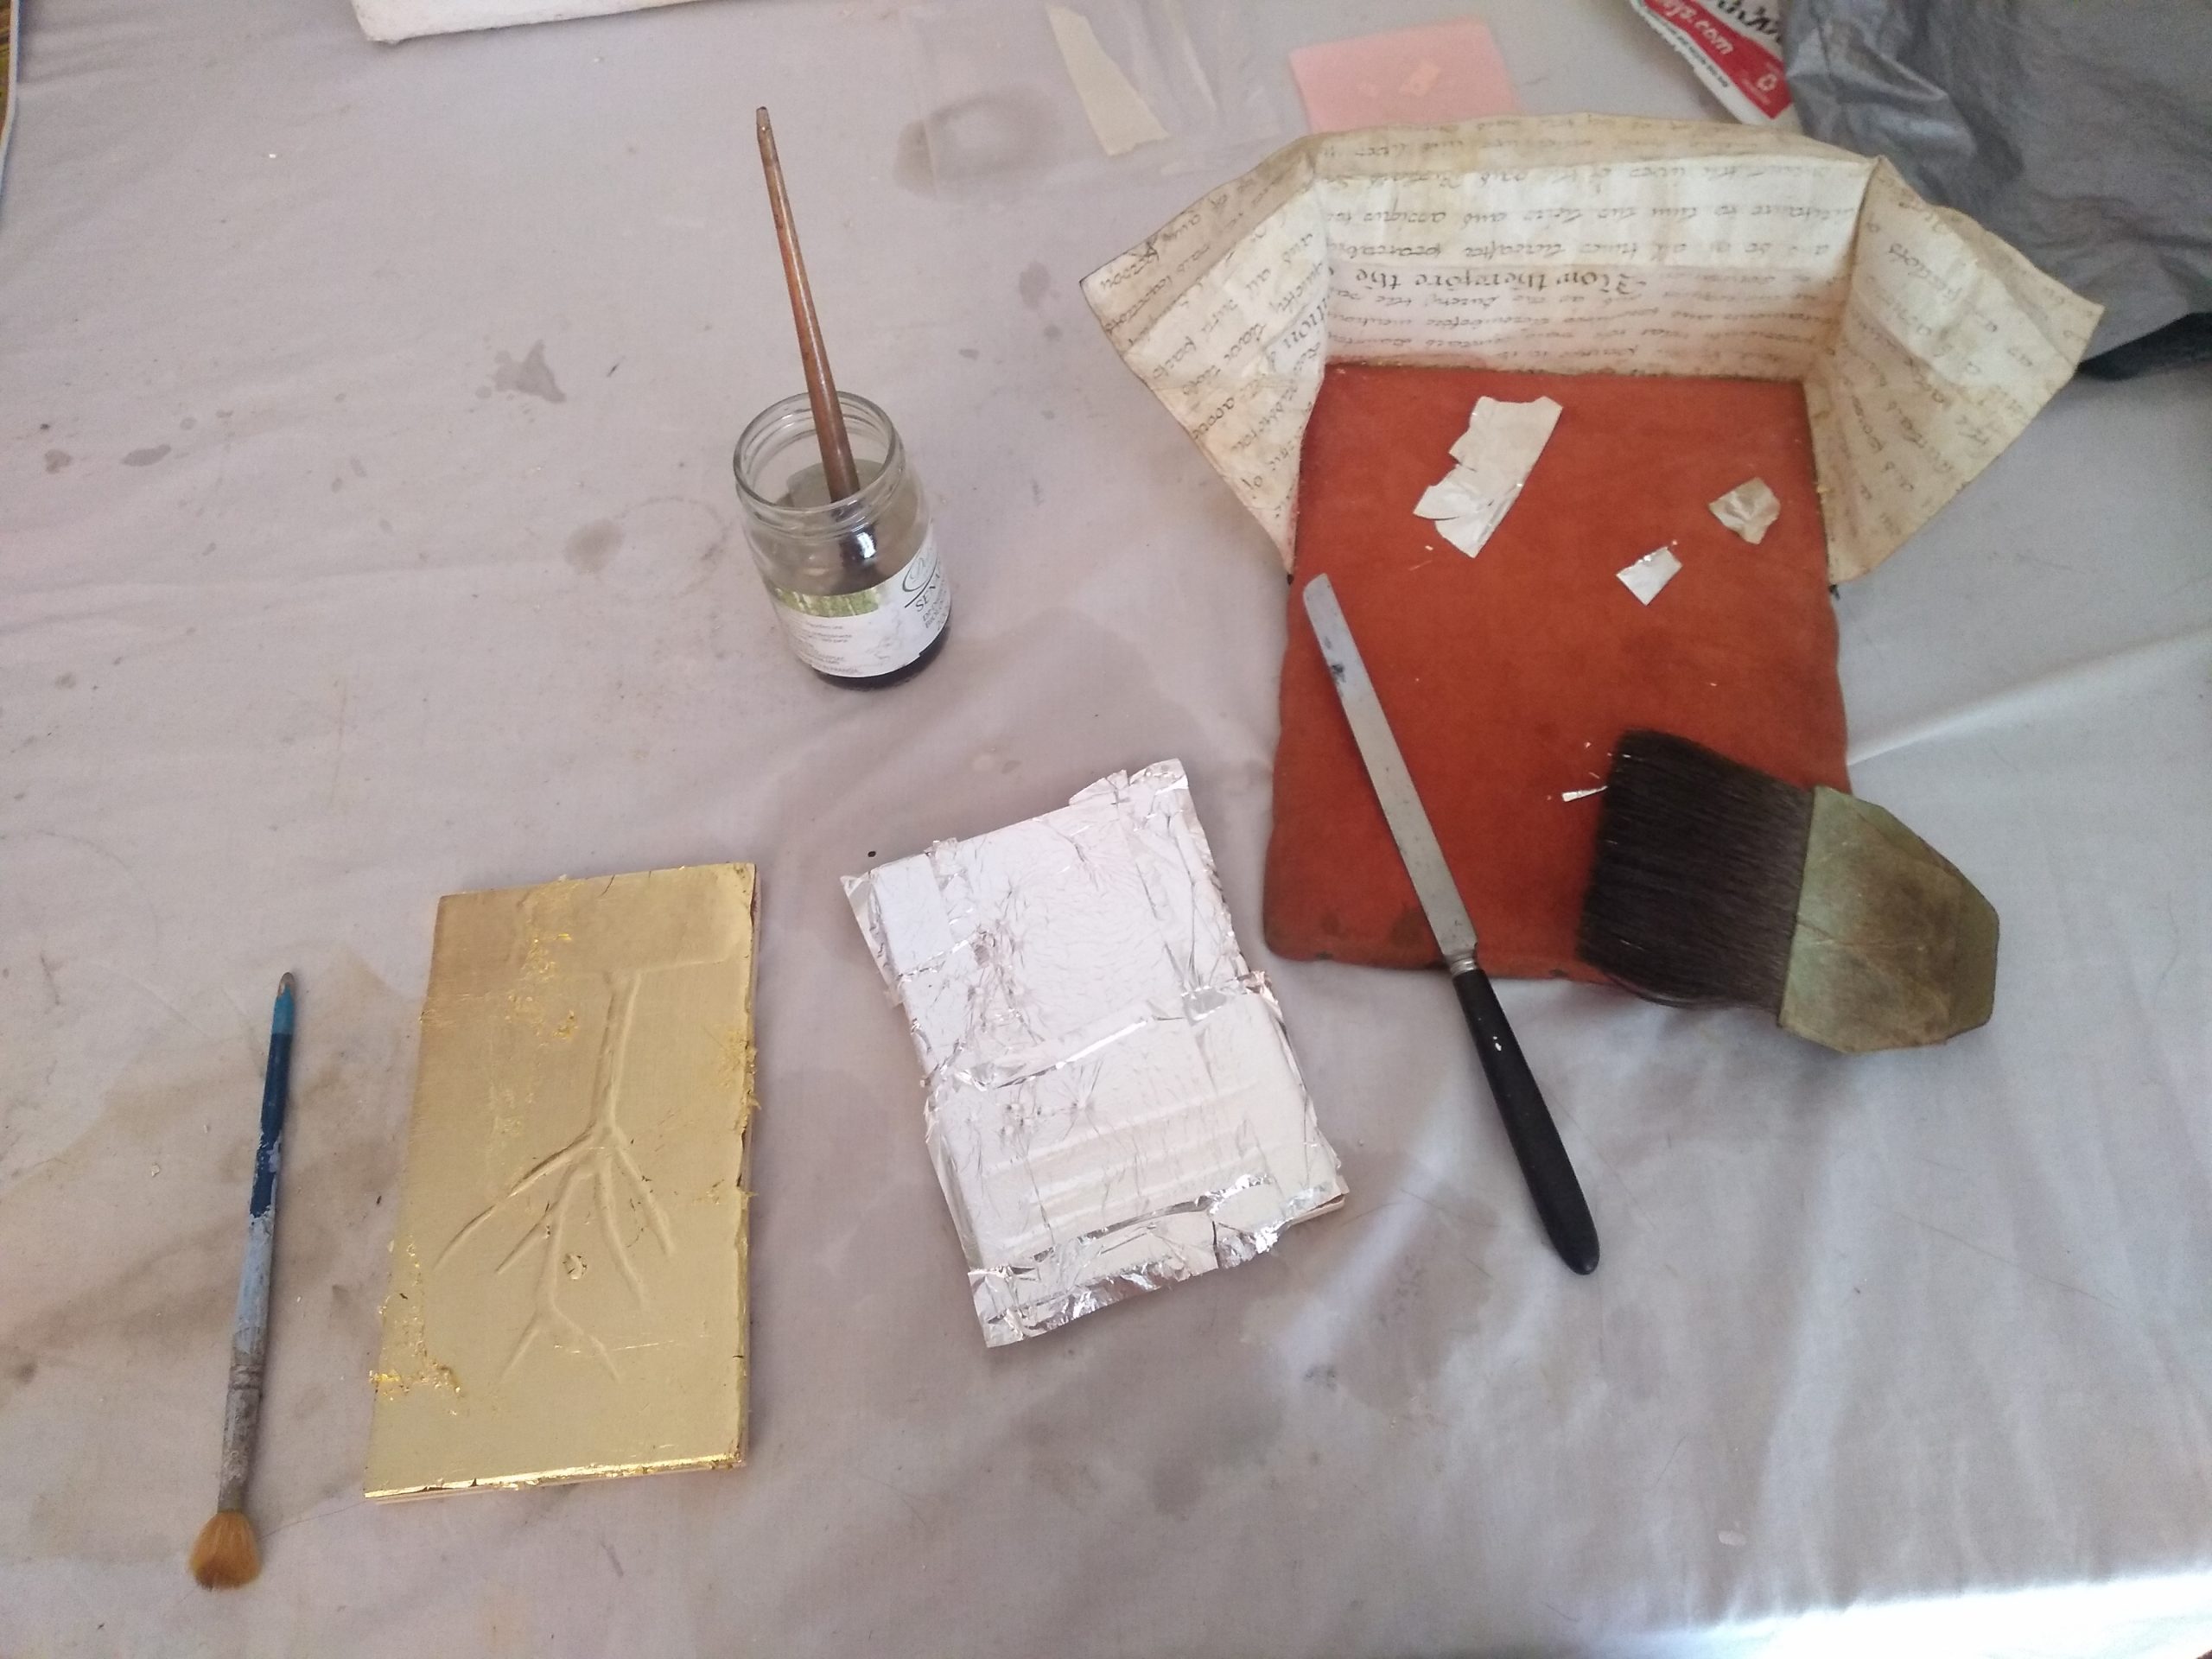
The next day, I was ready to put the gold on. I had never worked with gold leaf sheets before, having only ever used transfer papers. I used a gilder’s cushion, knife and tip (brush). Gold is extremely light, so I pretty much had to hold my breath or it would fly off and land in my hair! The trick is to be gentle yet bold. I learned how to lay the gold square on the cushion, to pick it up with the tip, which I had first stroked my cheek with to get a tiny bit of grease, and to lay it on to the waxed areas of the fresco. Ideally, the square will go down whole and the borders will show in the final design. In practice, many of my squares broke up and I had to do a bit of a patchwork job.
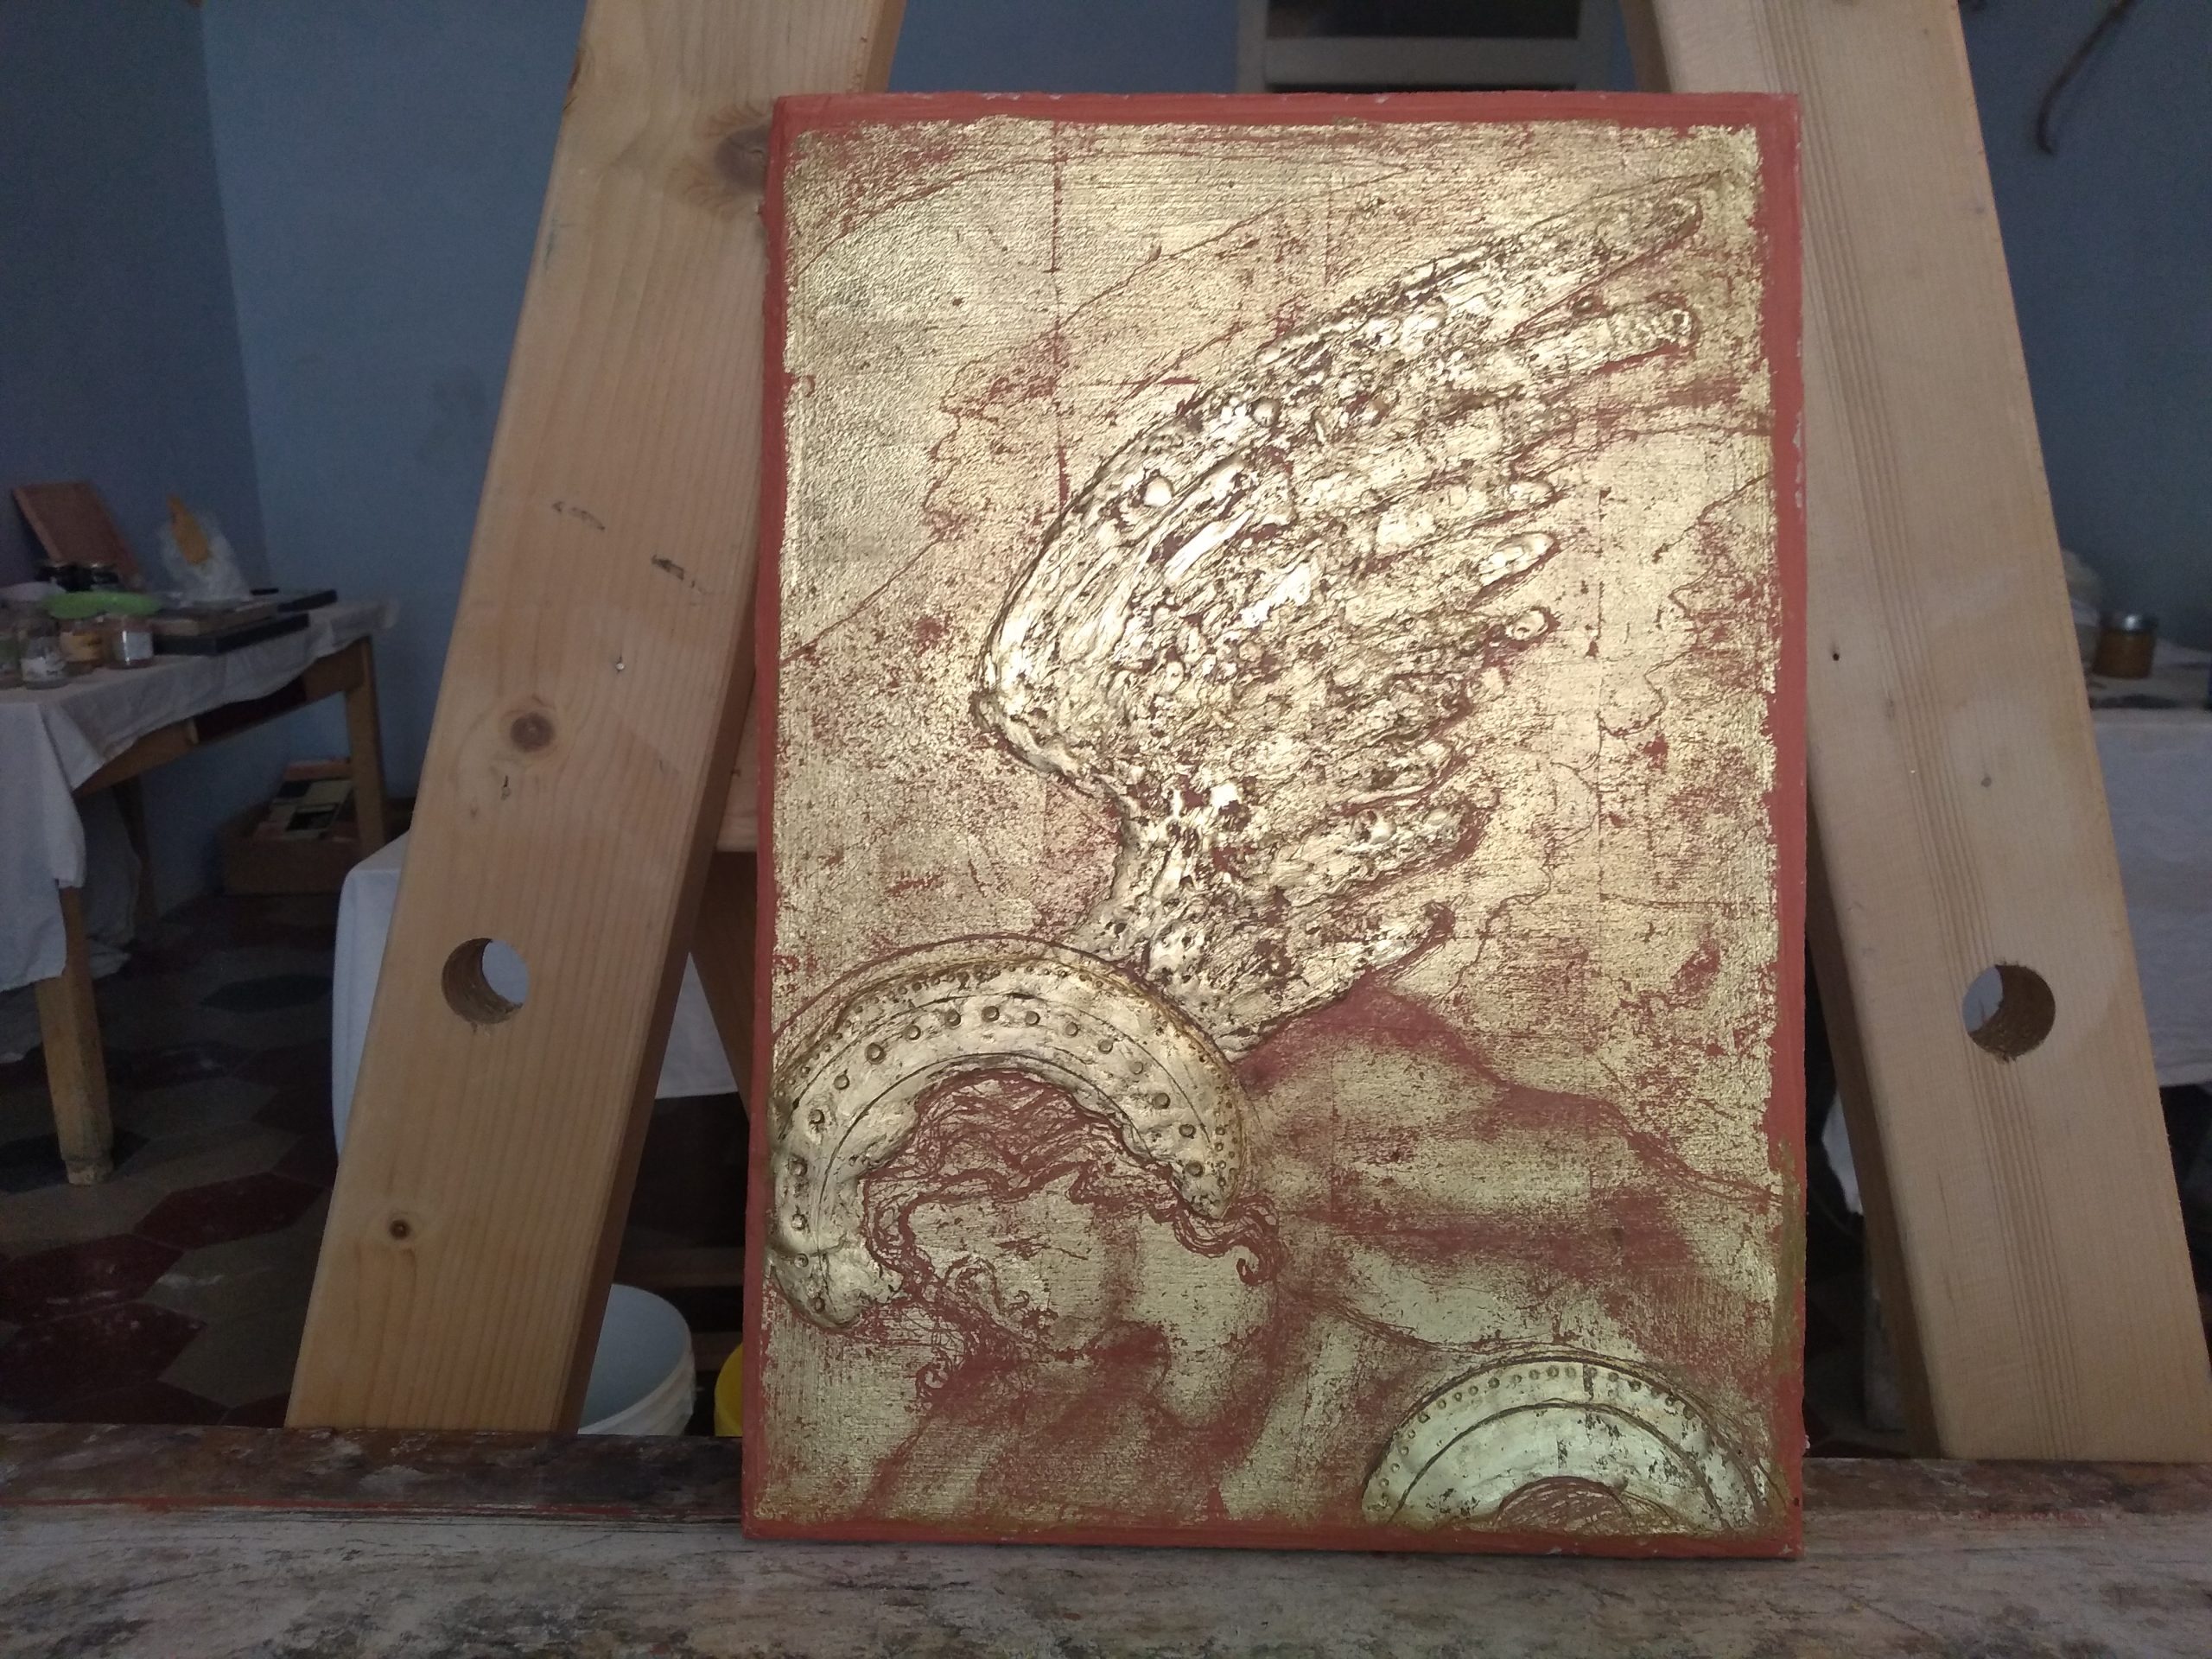
Once I had smoothed the gold with a soft brush, I removed some of it with a slightly harder one in order to get a distressed look. I also incised the raised wax halo with various tools. As I wanted to practise the smooth, raised technique again, I made a second fresco with a halo. At first there was a hand painted inside of this, inspired by a fresco we had seen on a trip into the interior of Sardinia but, in the end, I turned it into a self portrait, painted in egg tempera.
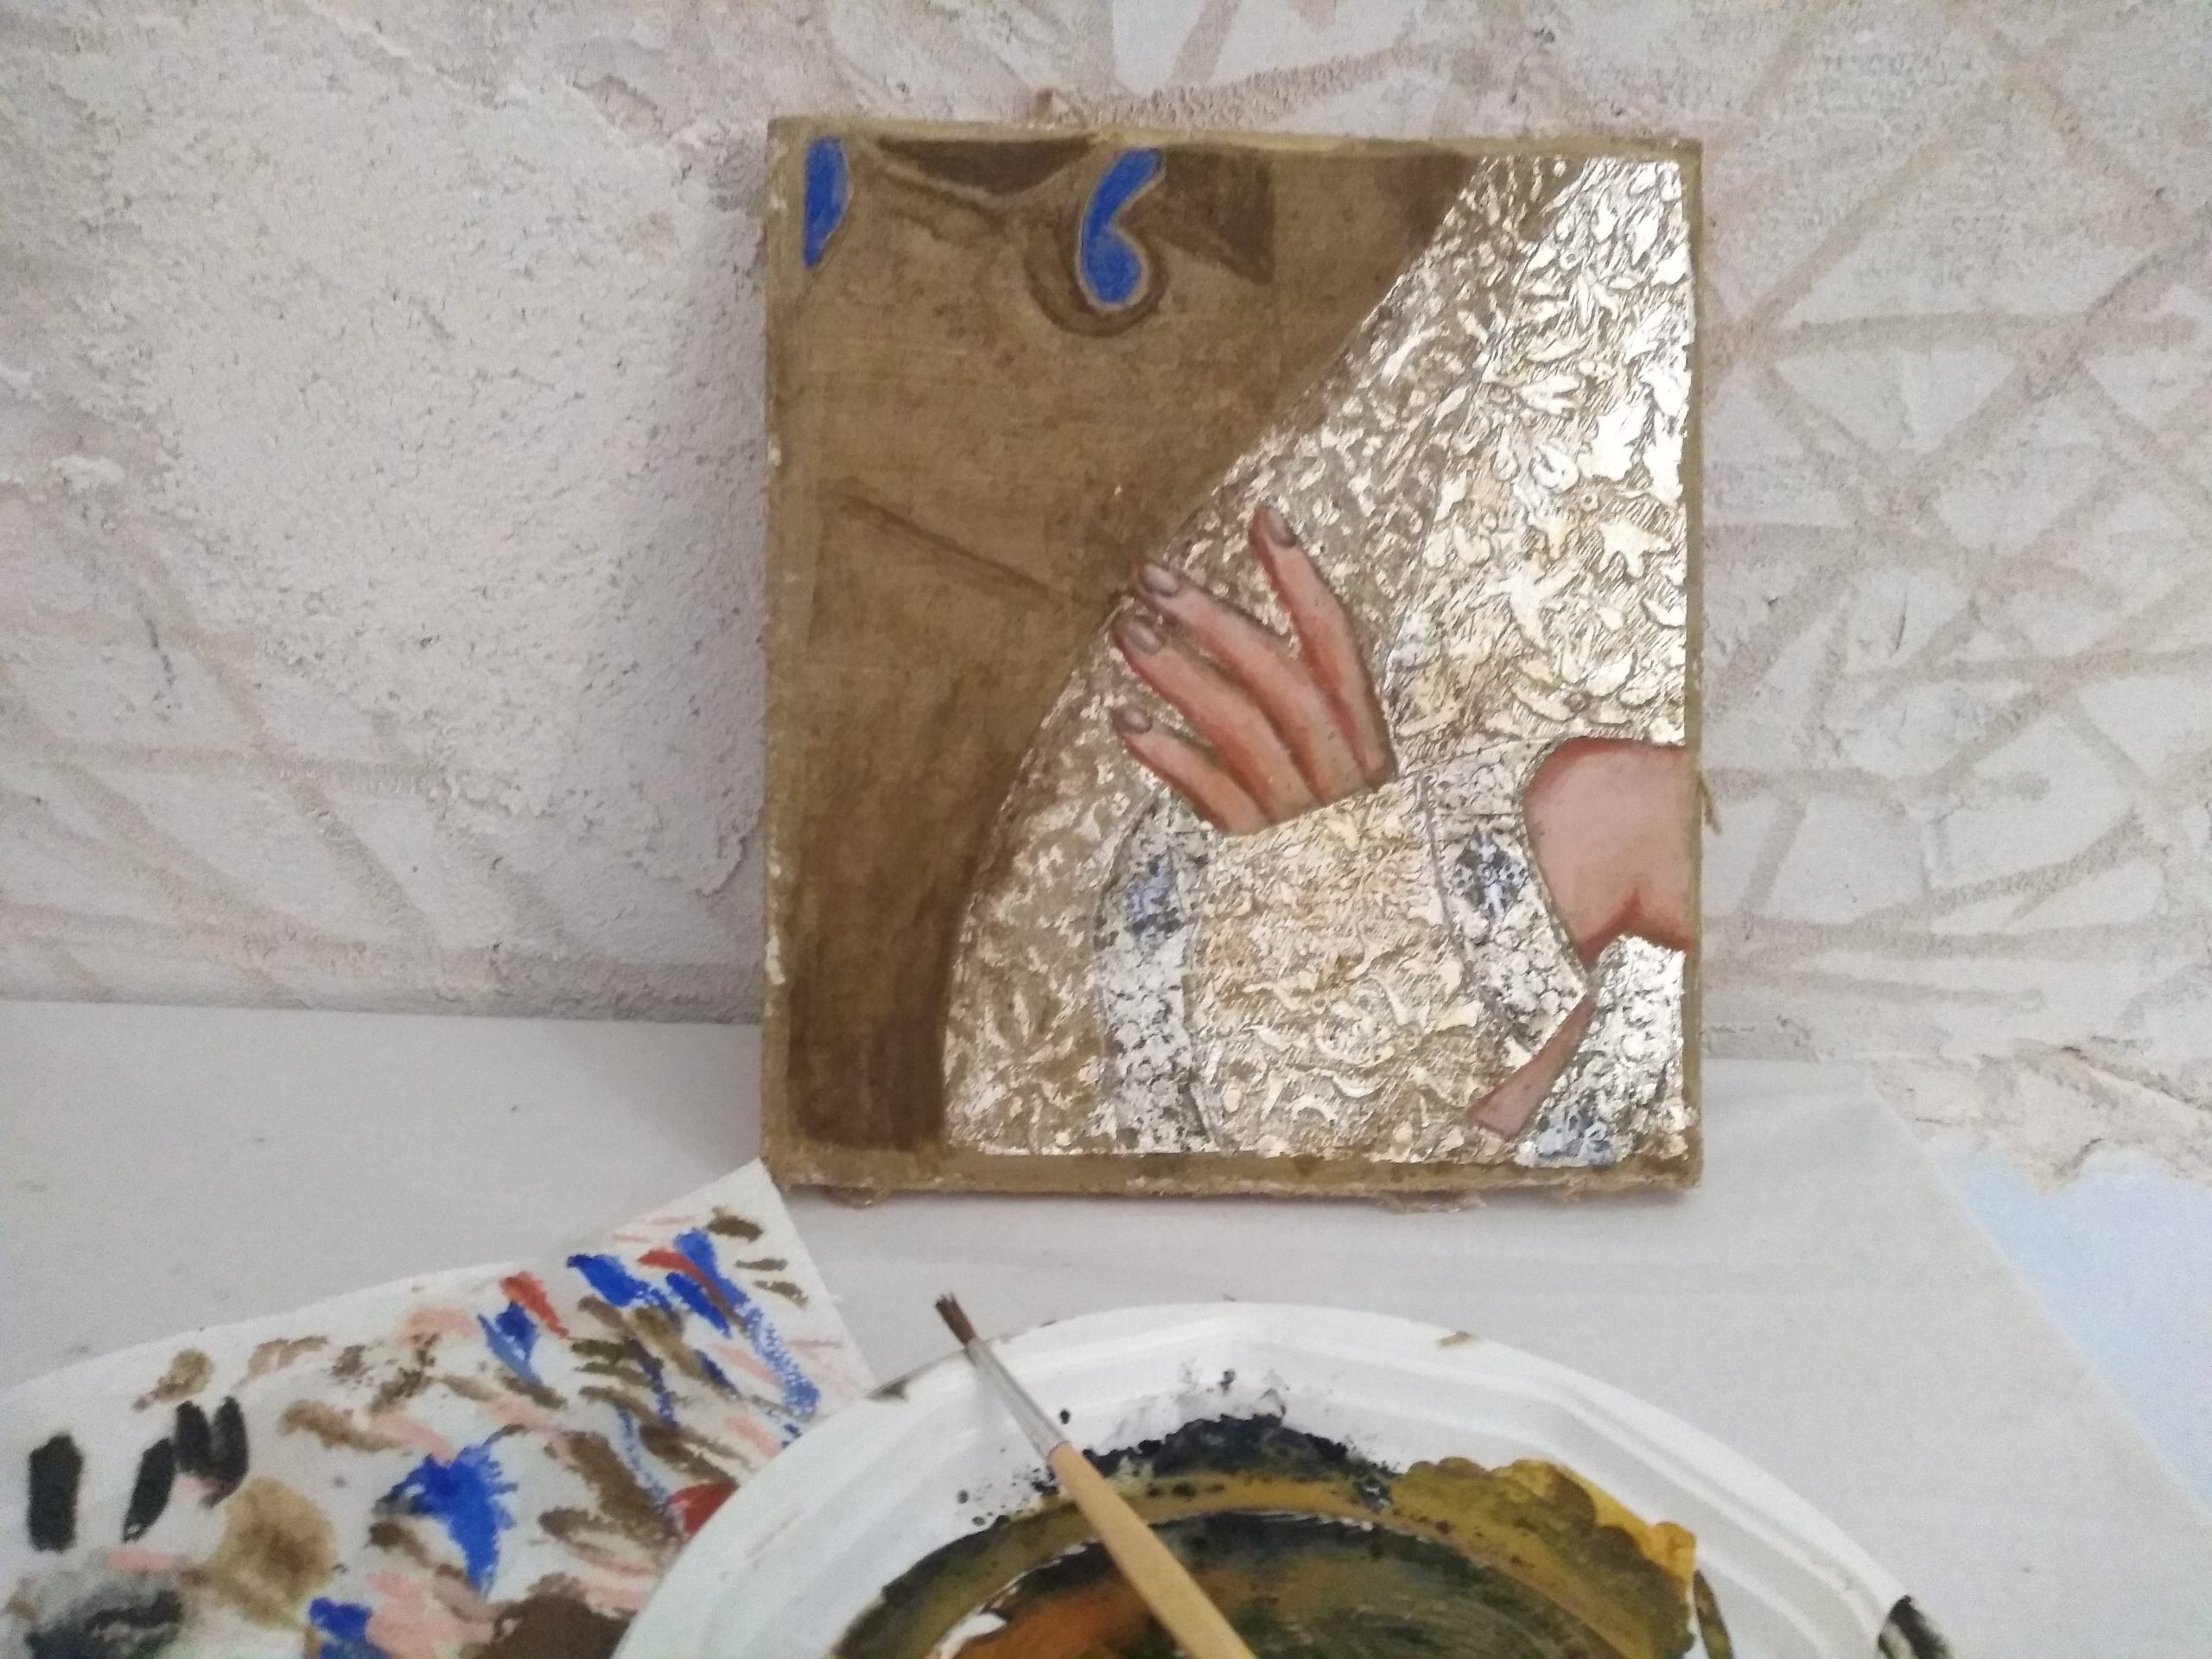
Silver leaf is easier to work with as it is heavier. I did a third fresco, this time on a green panel, taking inspiration from a brocaded sleeve. I enjoyed incising this, finding all the negative shapes. Carey taught me how to paint egg tempera on top of this which I did for the hands. In time, the silver will tarnish, becoming darker.
Although not strictly part of my QEST scholarship, I asked Carey to show me how to water gild. This has nothing to do with fresco and is a technique used with red bole and egg tempera. I made a small silver panel and a small gold one.
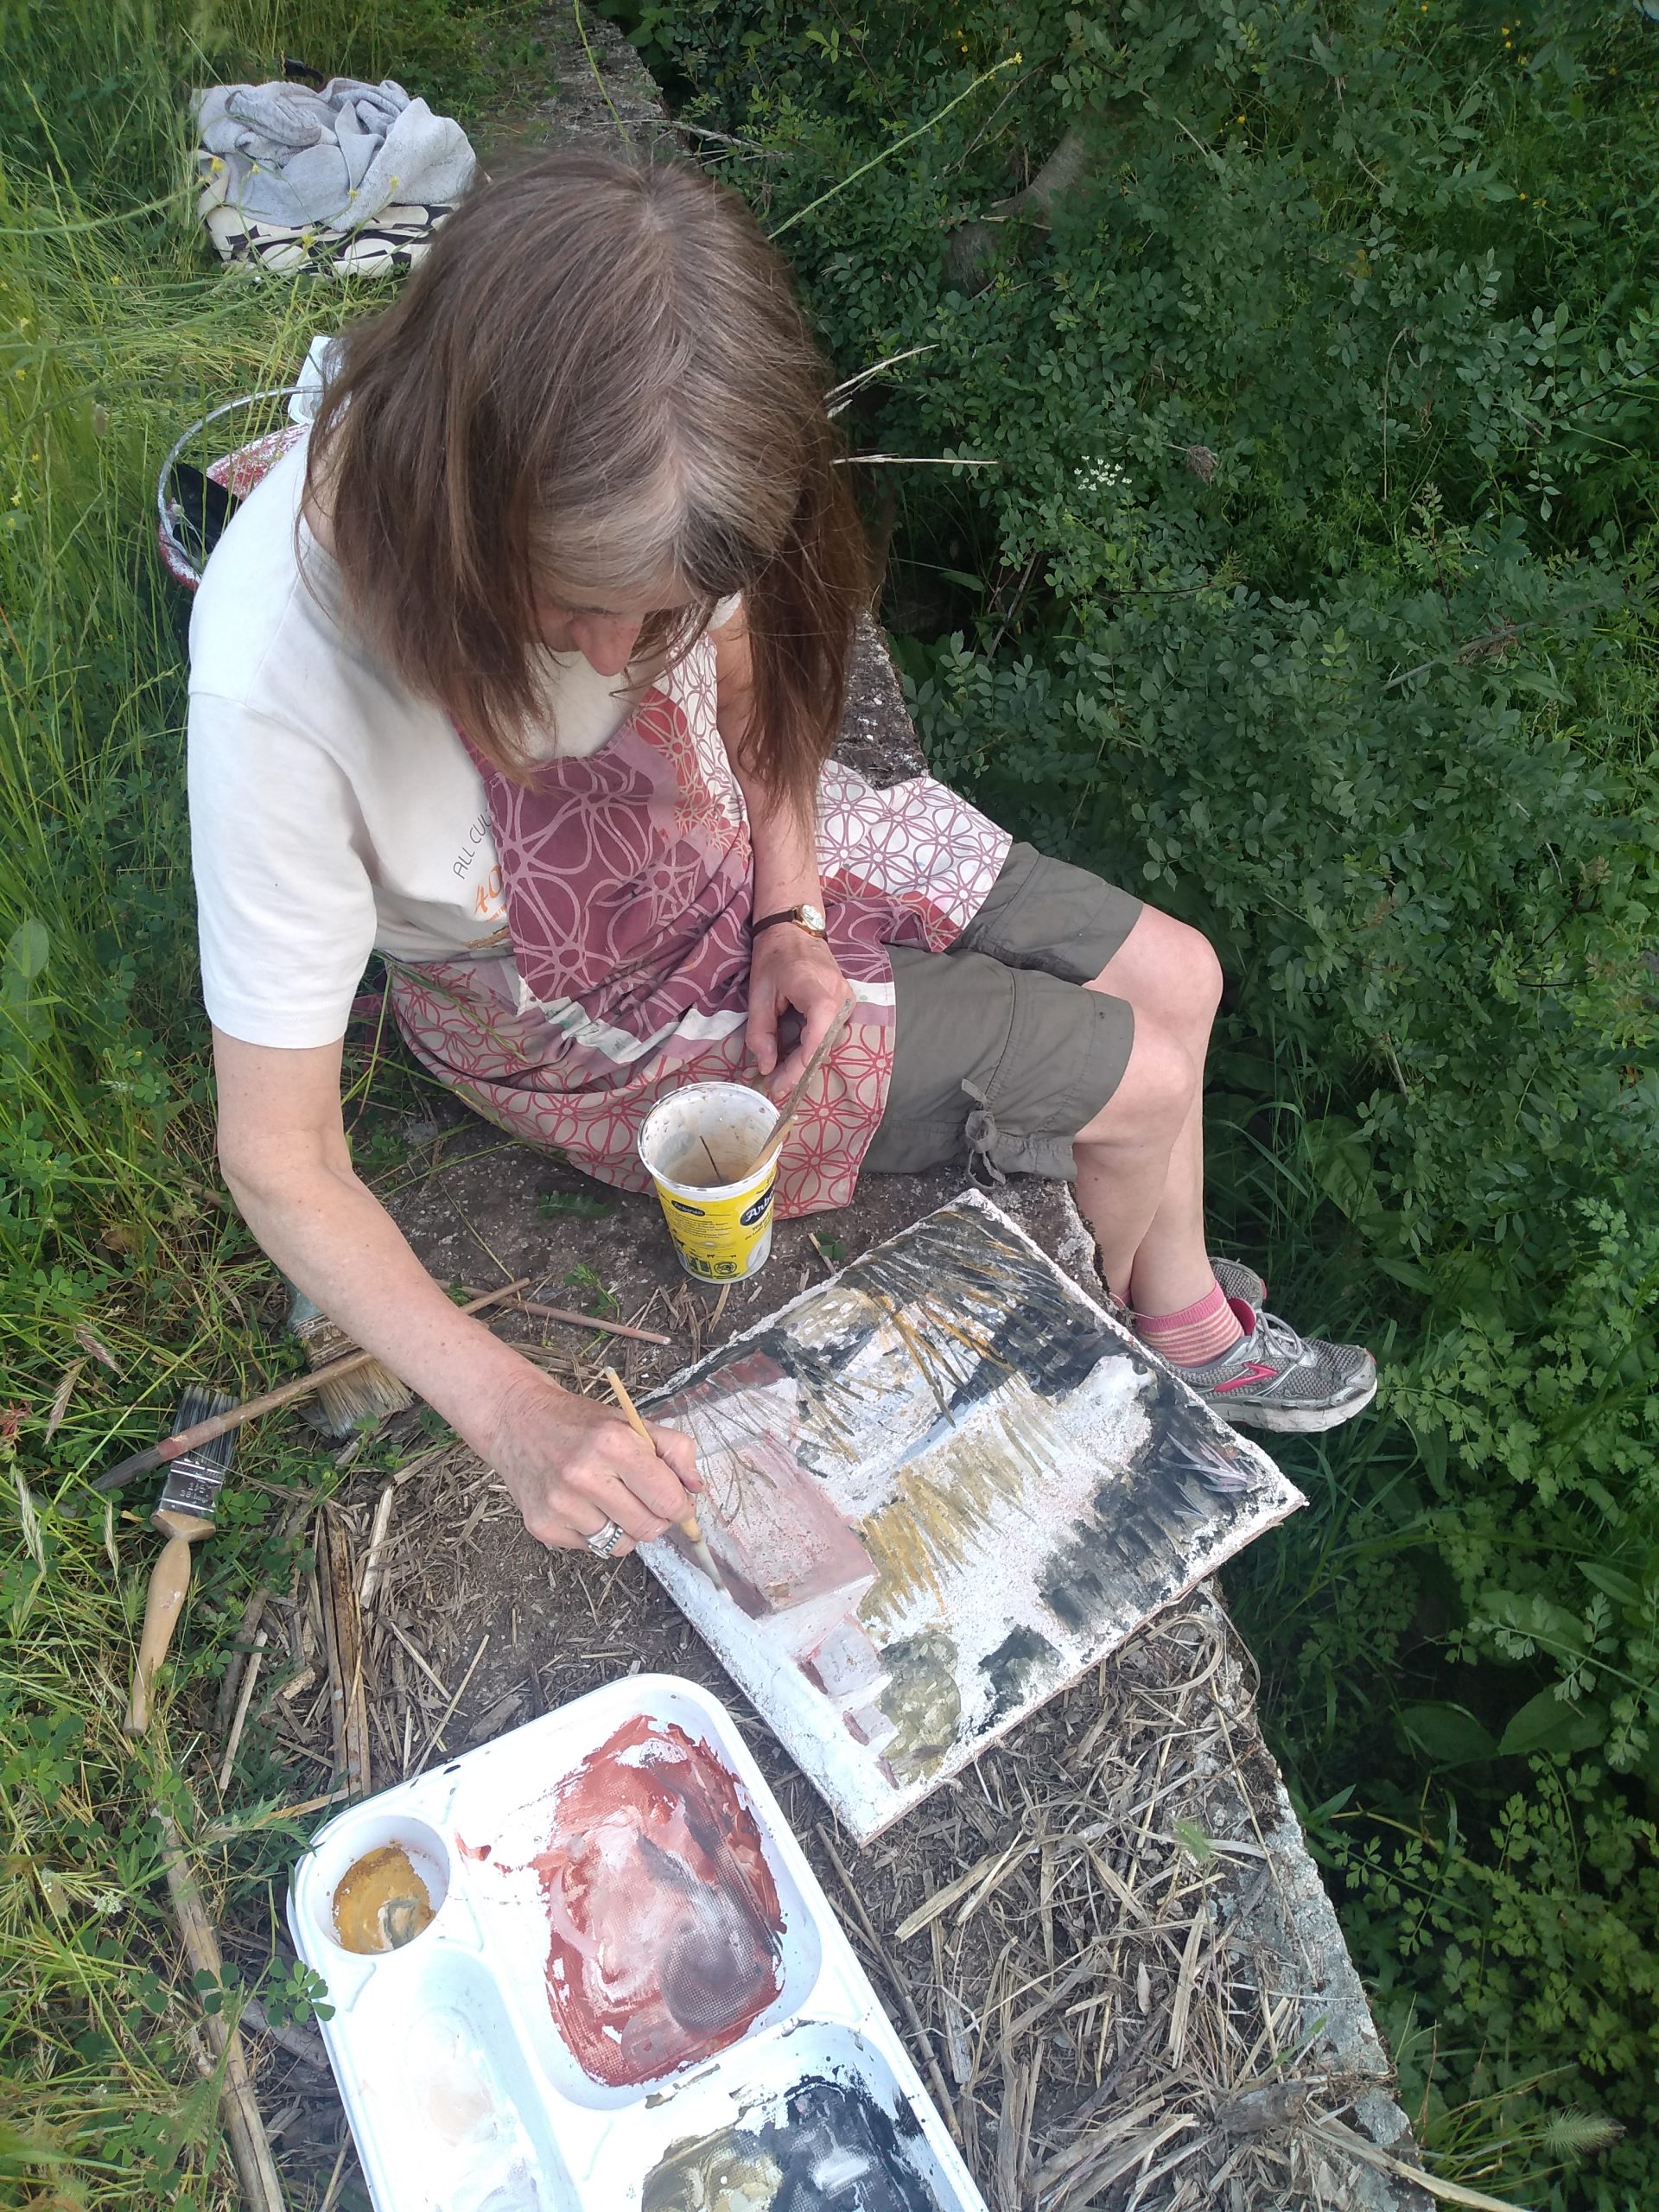
On our last day, we decided to try some plein air fresco. We had to be quite organise carrying everything with us – lime plaster, boards that already had a dried layer of lime plaster on them, tools, brushes, pigments and water. We settled by a lovely spot by the river and painted the tiny white flowers and reeds that covered the water’s surface. It was fun and a first for both of us.
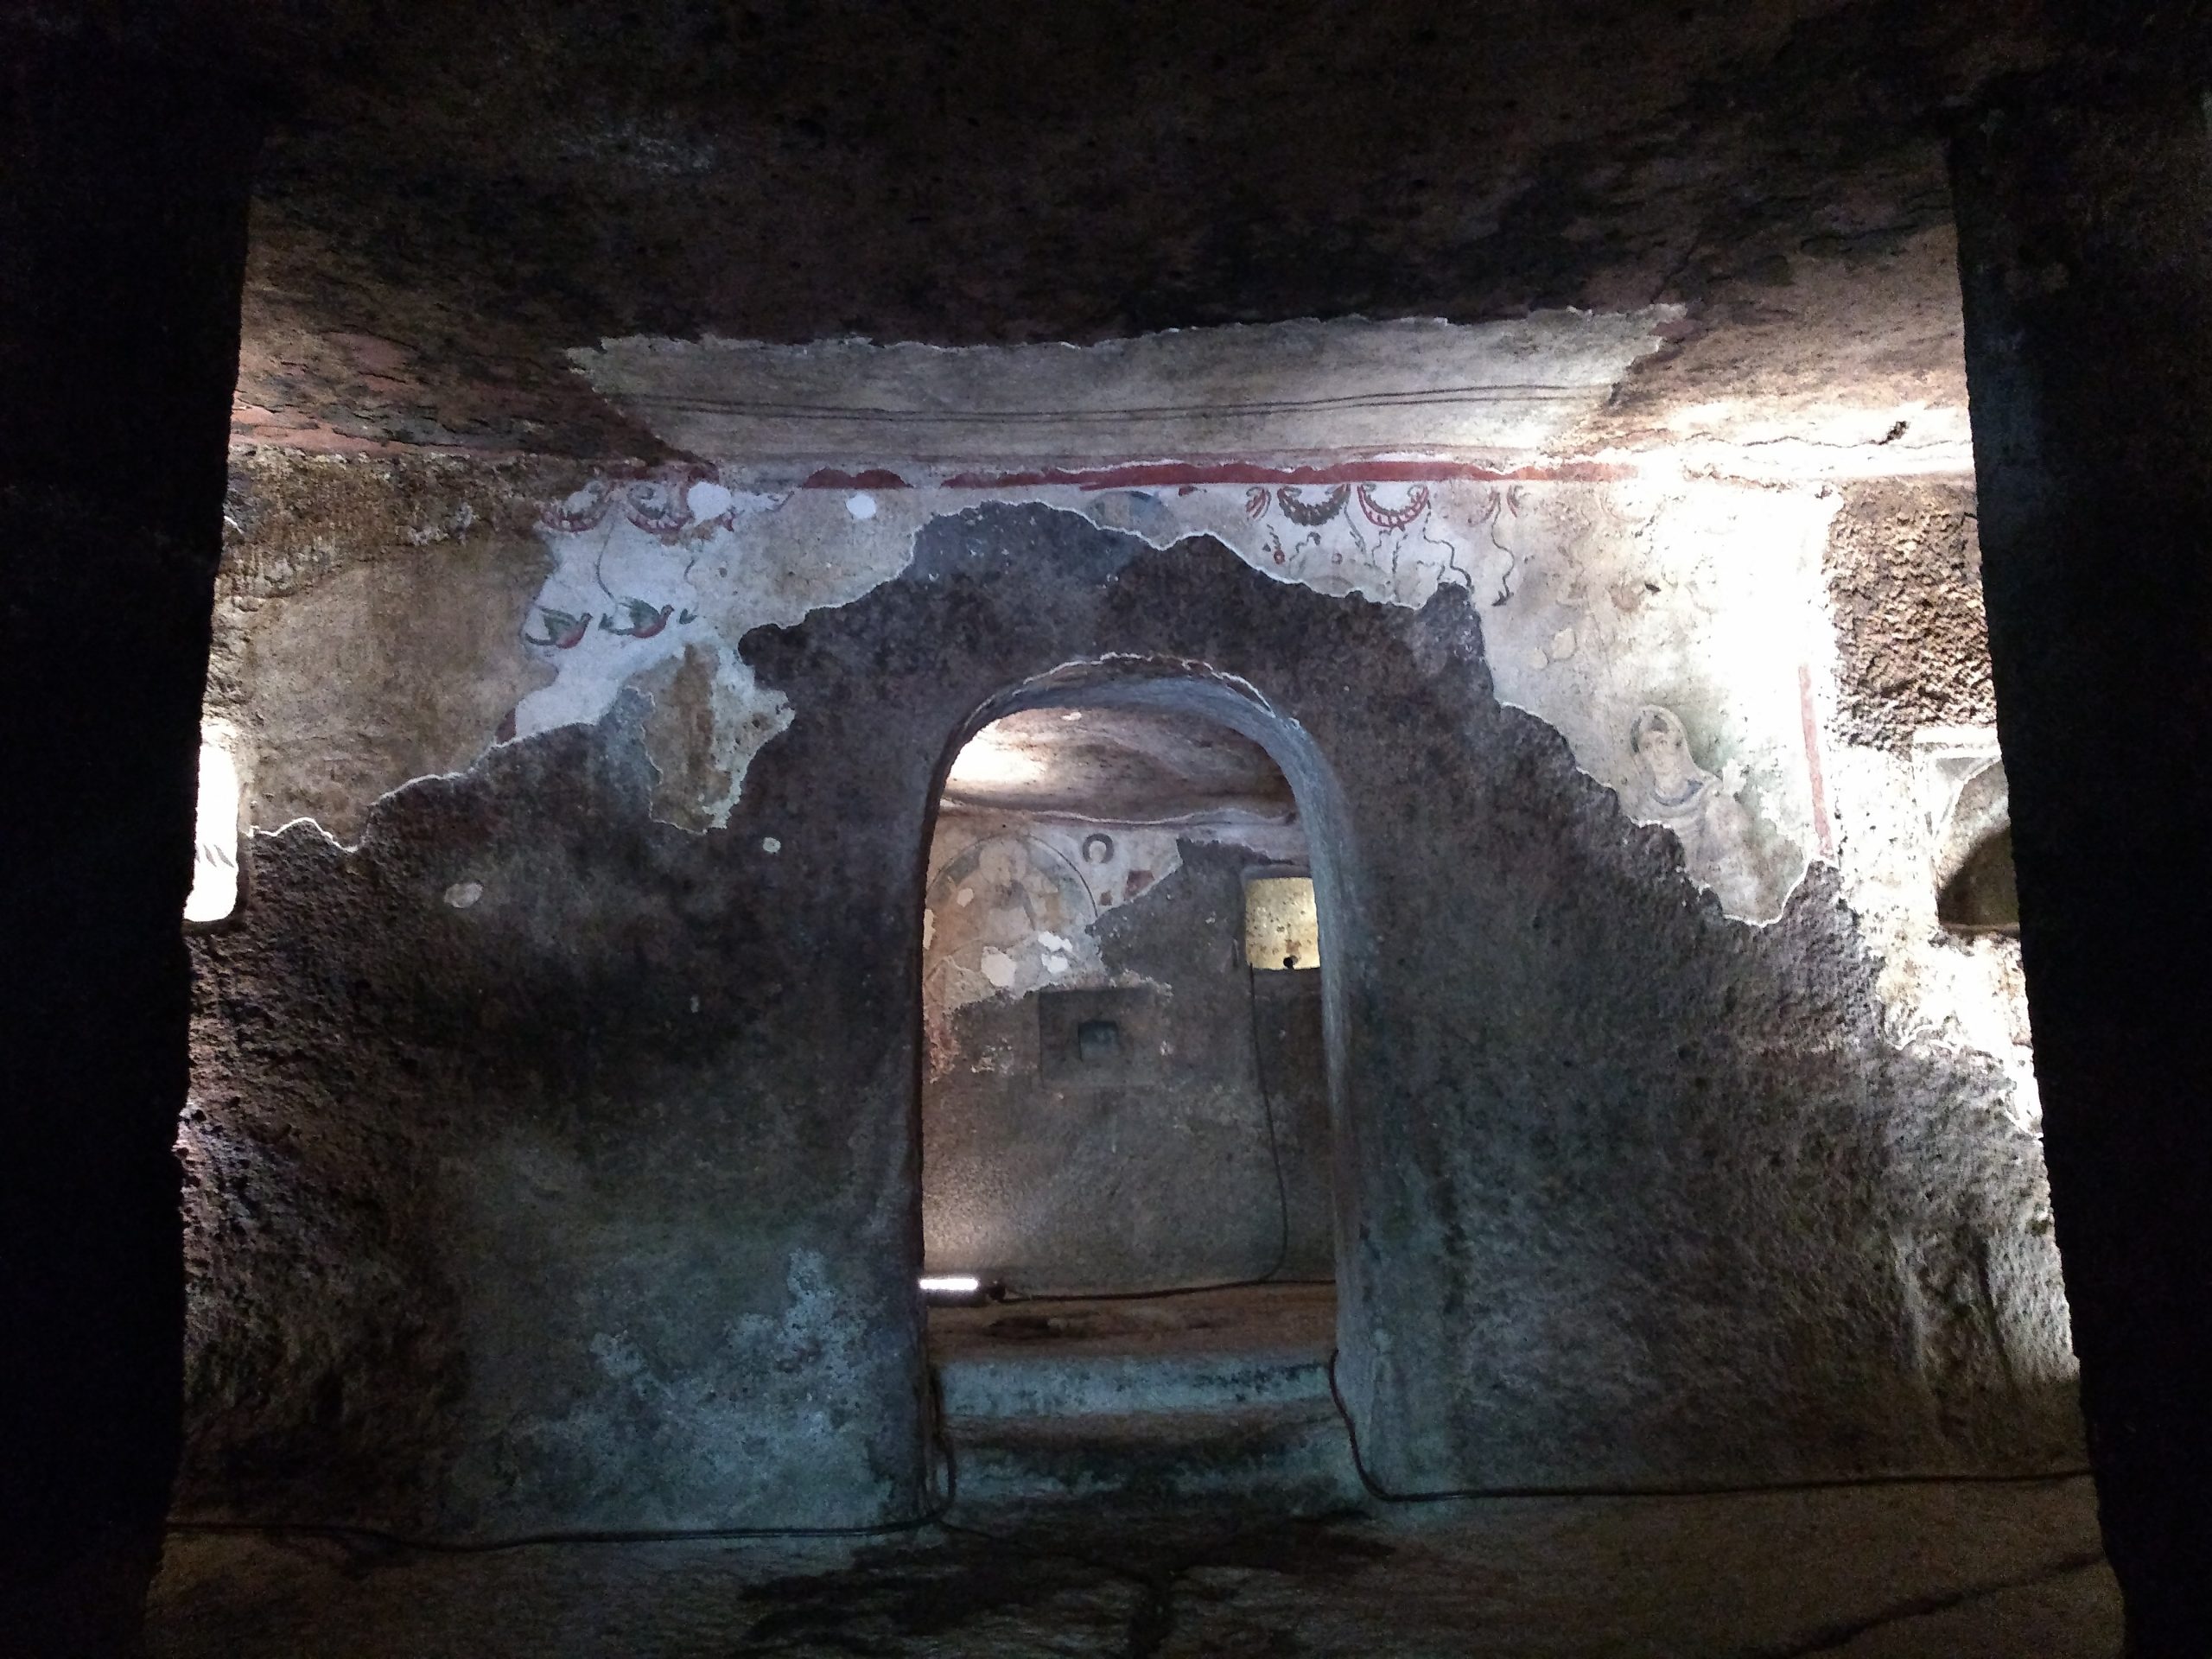
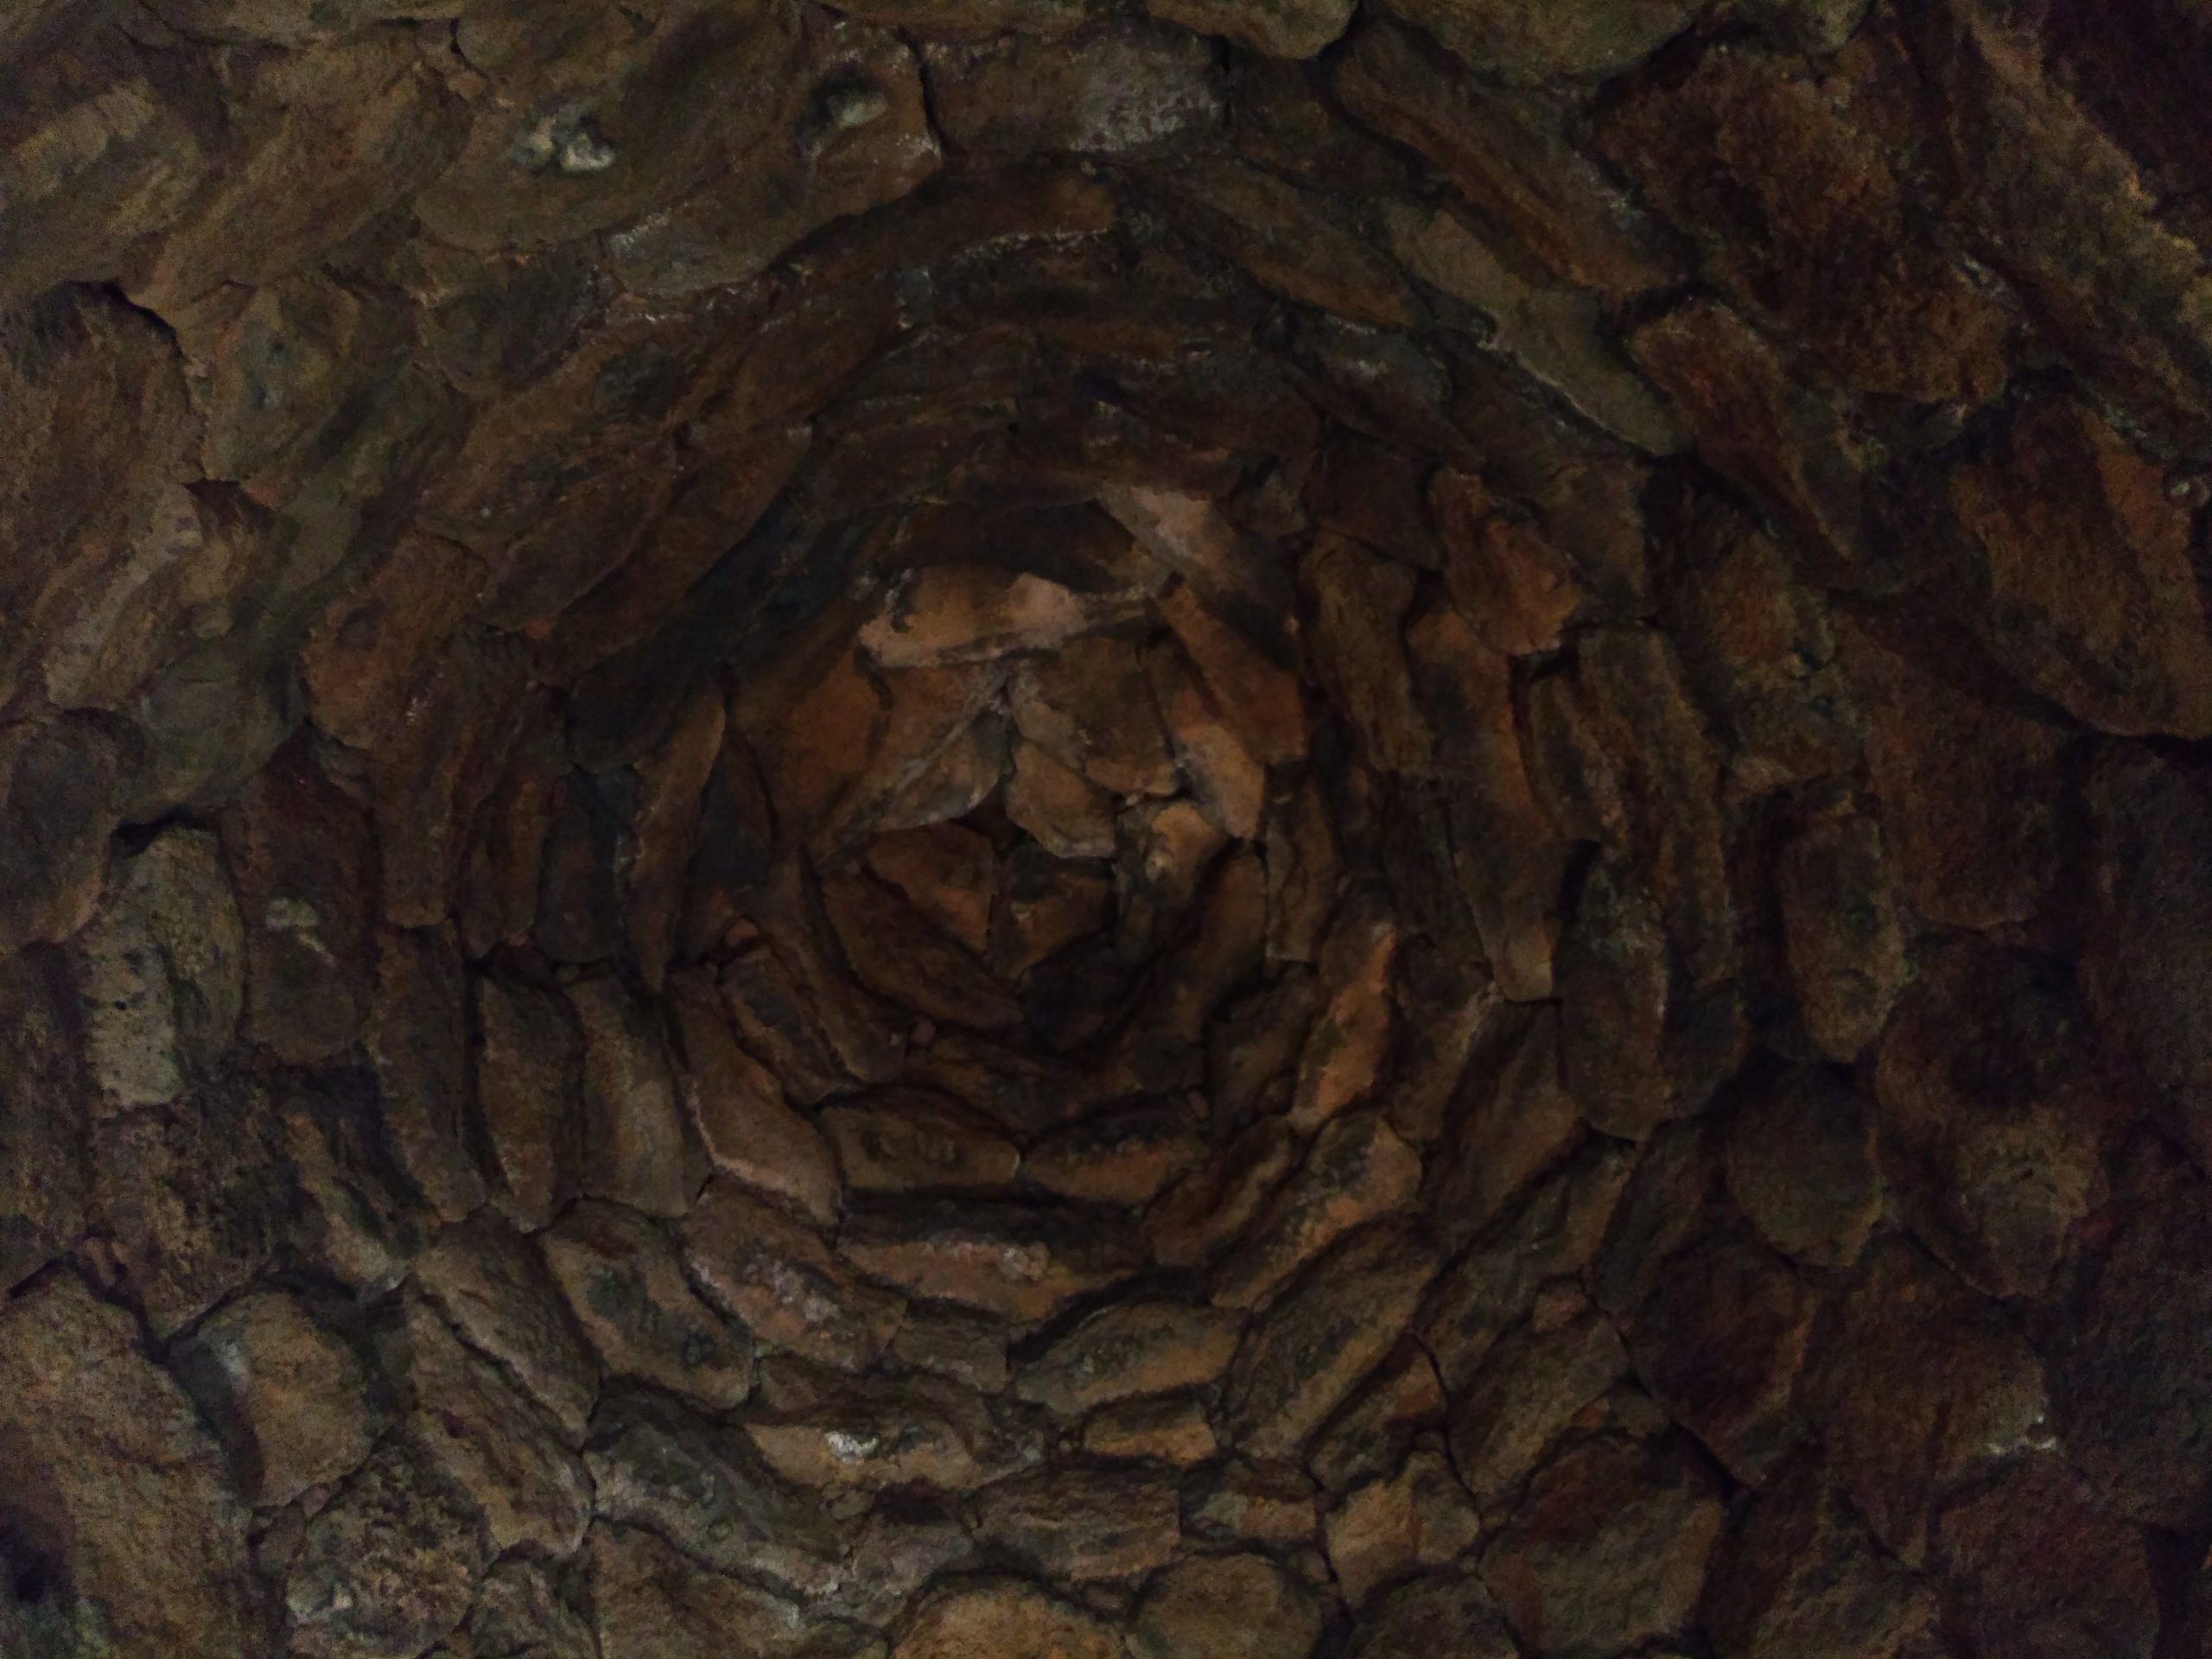
We made two trips into the interior of the island. We visited a site that had Byzantine frescoes painted on top of Roman ones. I loved seeing how the older frescoes came through and wonder if the Byzantines made use of the Roman decorations in their own designs. Also nothing to do with my QEST scholarship, we went to a Nuraghe, one of thousands of beautiful stone built, megalithic structures autochthonous to Sardinia.
This was part one of my Italian QEST adventure. In parts two and three, I went to Naples and Rome on a study visit and attended a strappo course in Rome.
